Bryan Sim, PhD
About
Writing
Résumé
Instagram
LinkedIn
Mail
Category:
Guitars
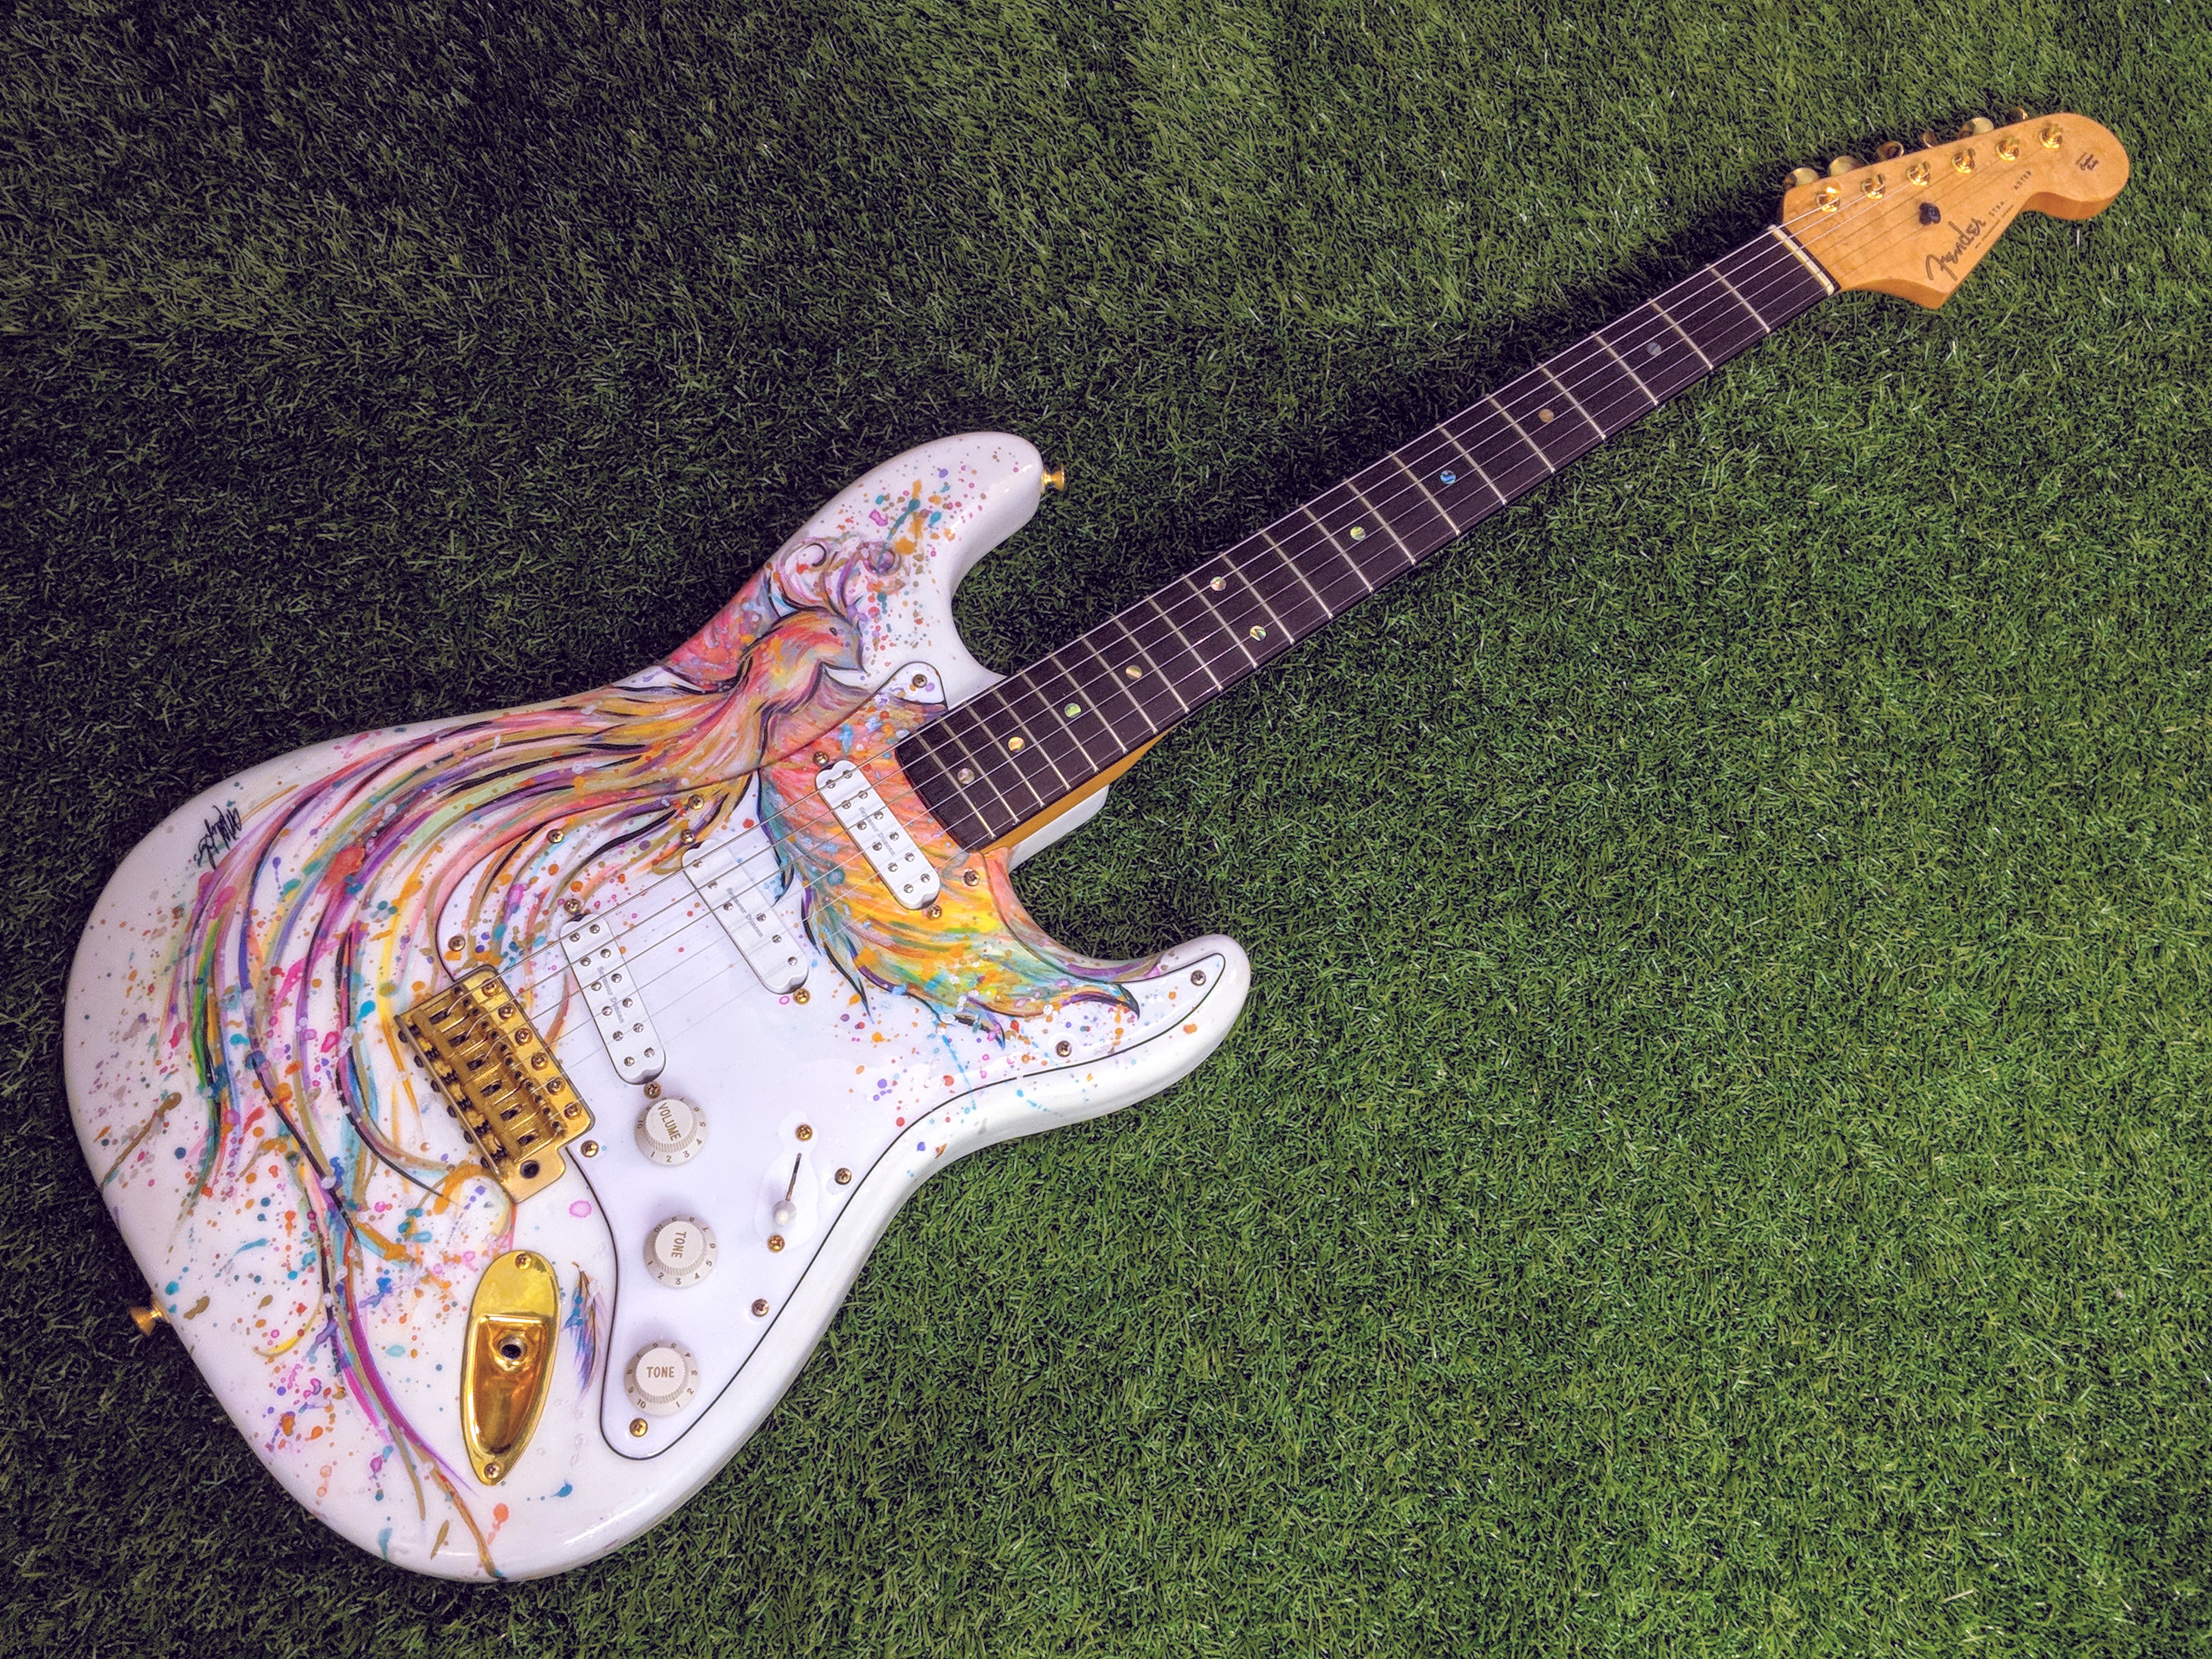
August 16, 2018
A Fender Firebird
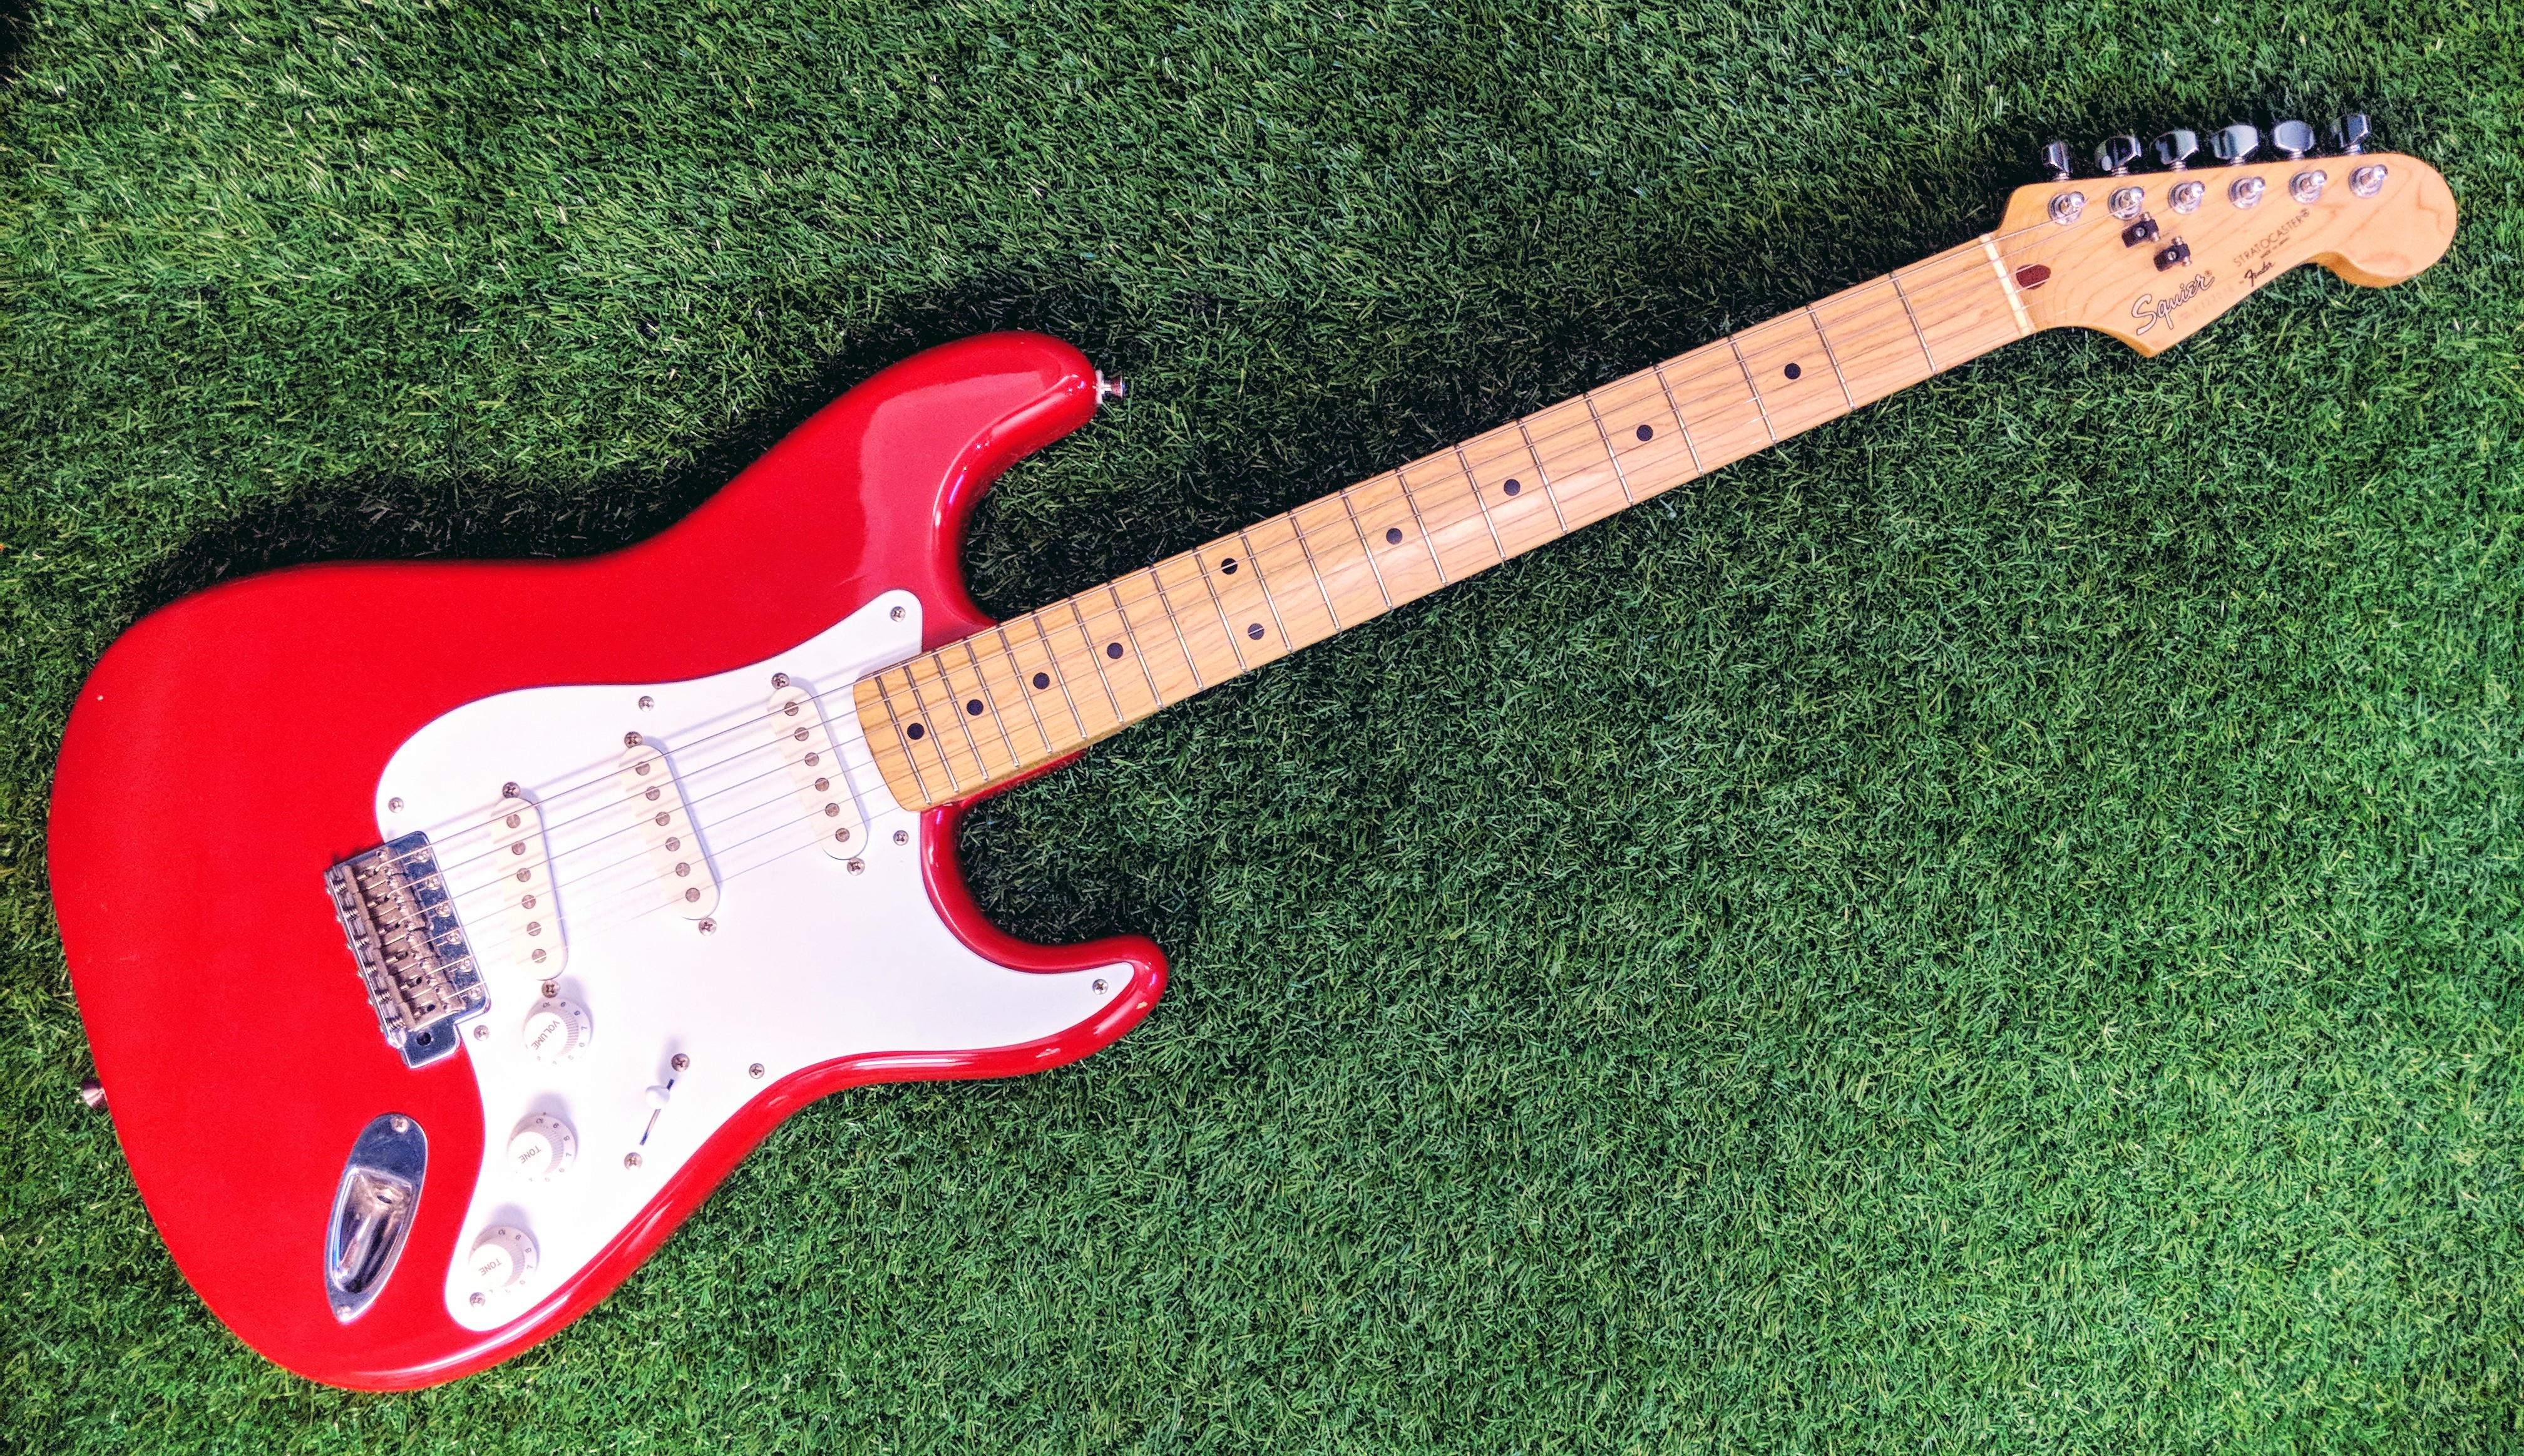
August 10, 2018
A 1987 Japanese-made Squier Stratocaster