Bryan Sim, PhD
About
Writing
Résumé
Instagram
LinkedIn
Mail
Author:
Bryan
December 29, 2023
How to Say Goodbye
November 23, 2023
Small Wins in the Rain
April 22, 2021
The Reality Check
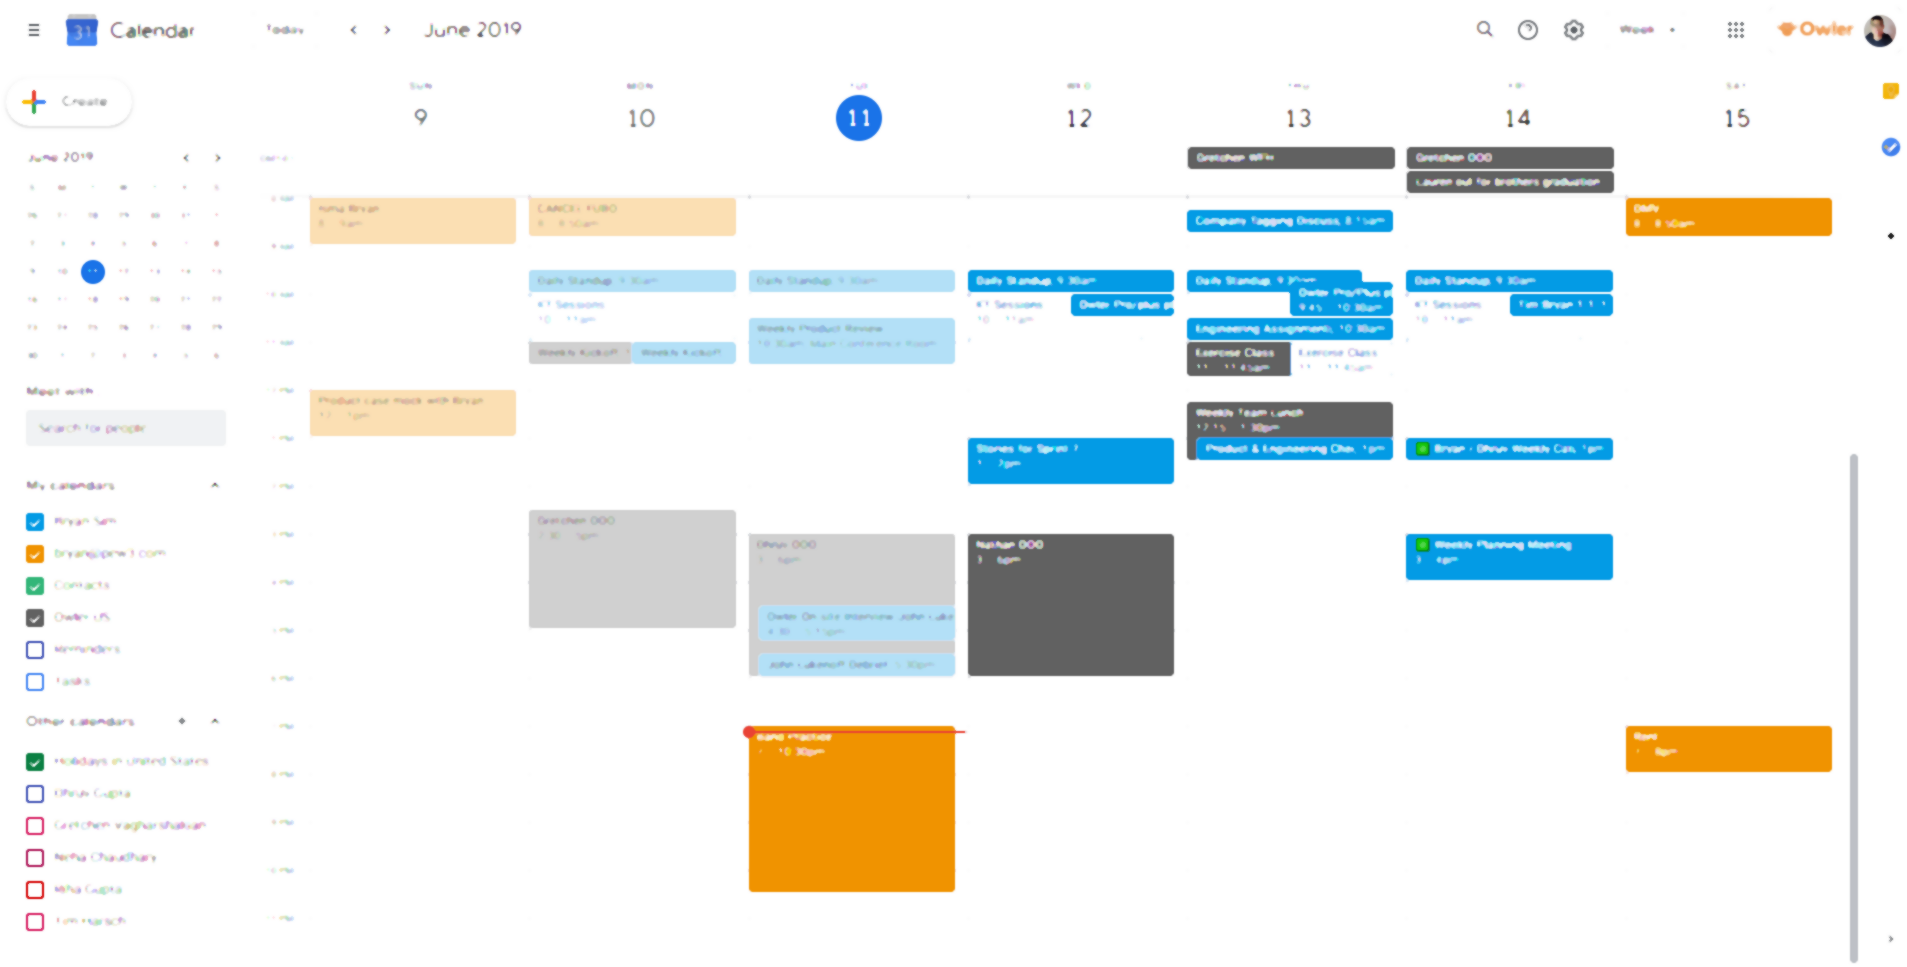
June 11, 2019
The pitfalls of automating your vacuum cleaner
January 26, 2019
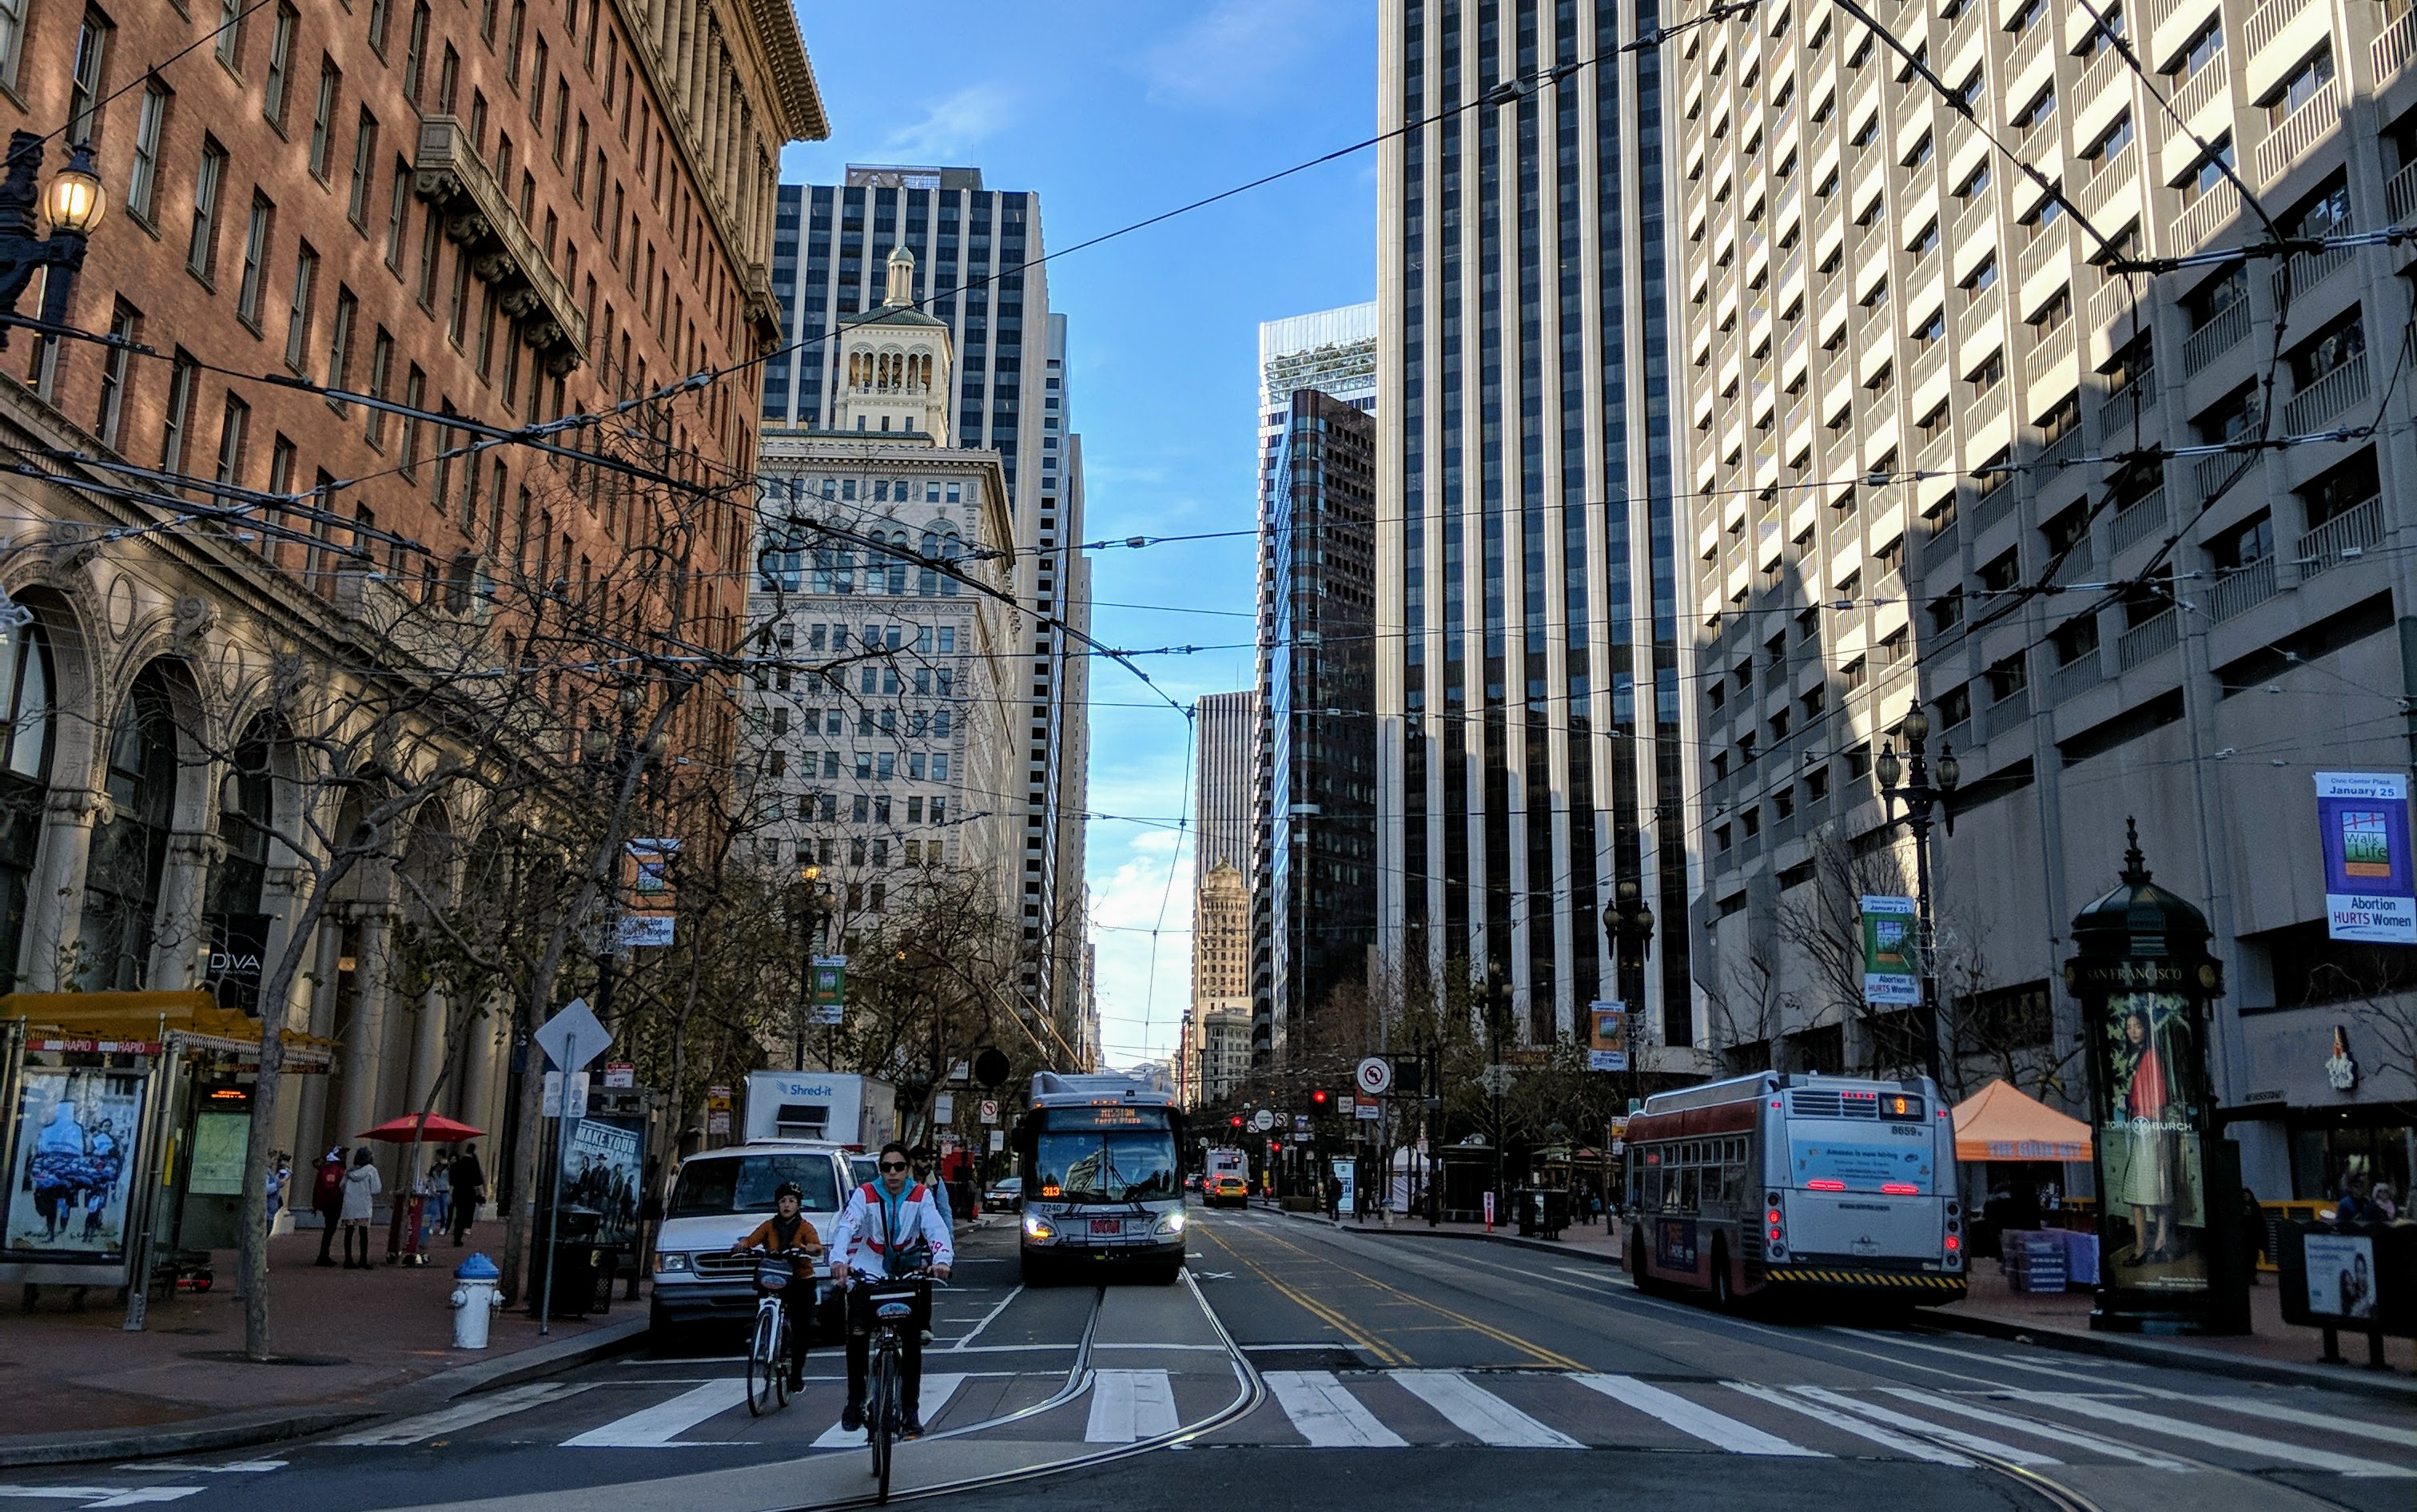
Data-driven off a cliff: Rekindling a love for the unknown and immeasurable
August 27, 2018
The Best Day Ever and What it Taught Me
August 16, 2018
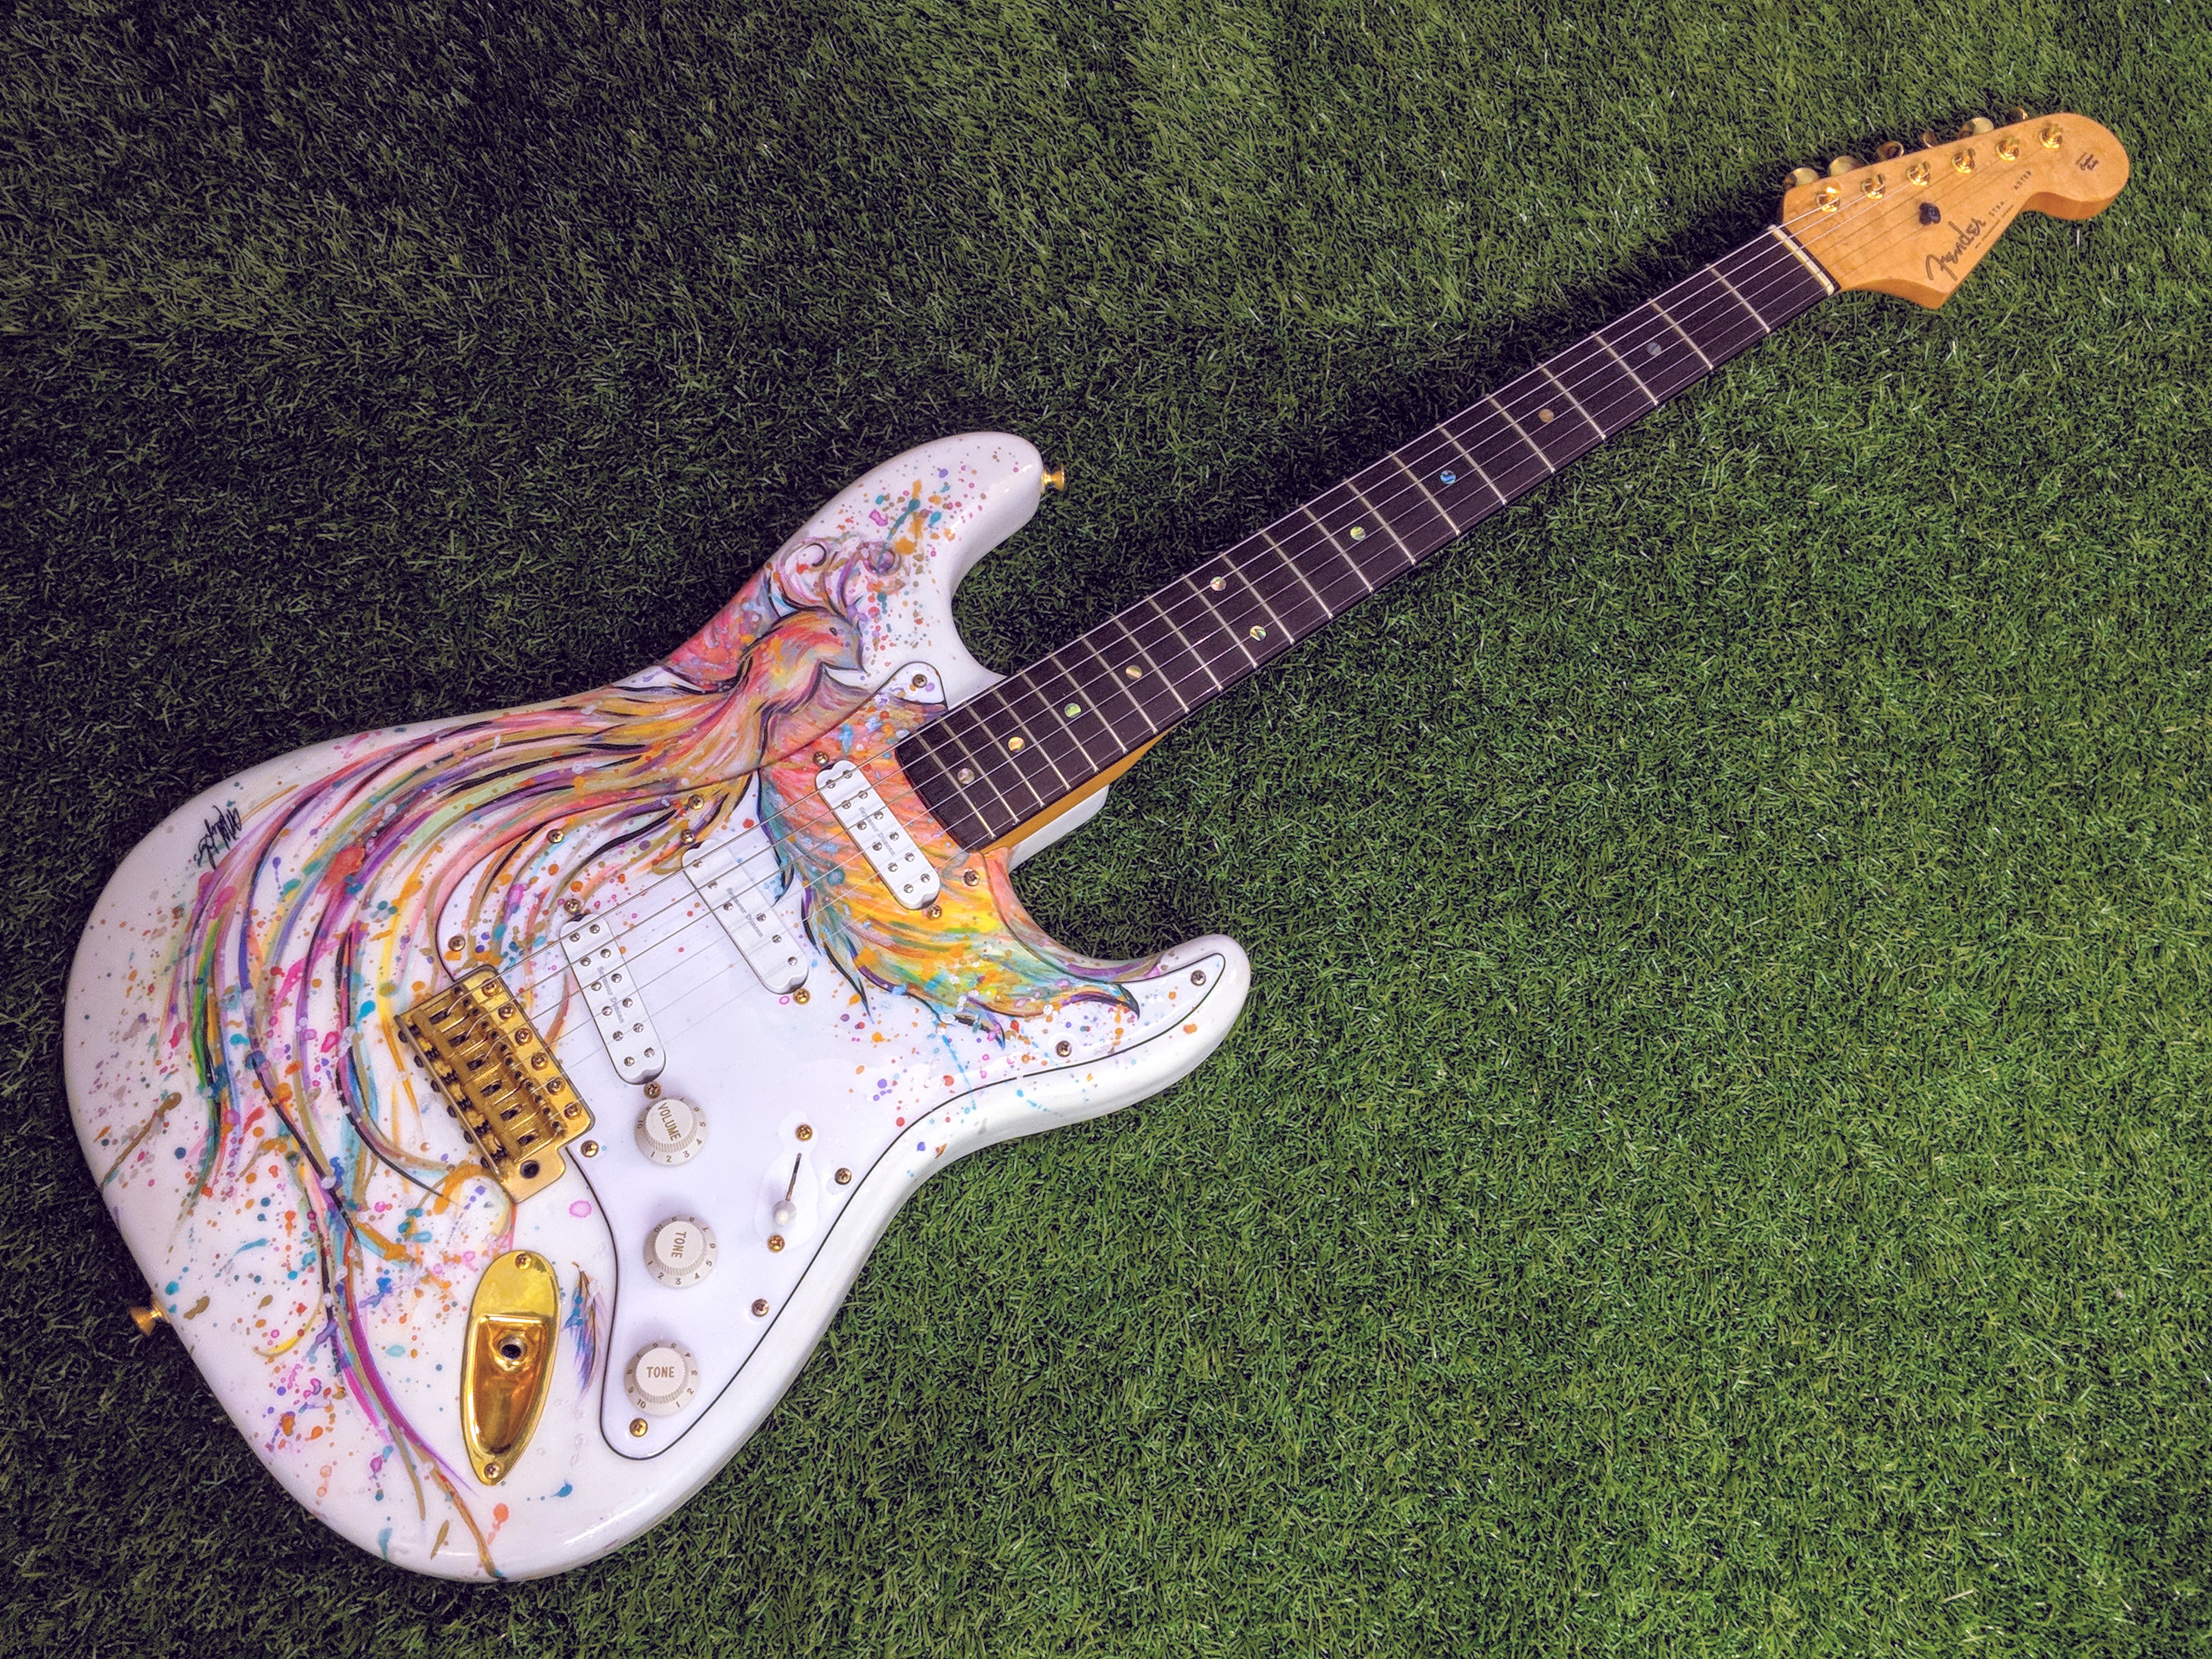
A Fender Firebird
August 14, 2018
On Forgetting and Happiness
August 10, 2018
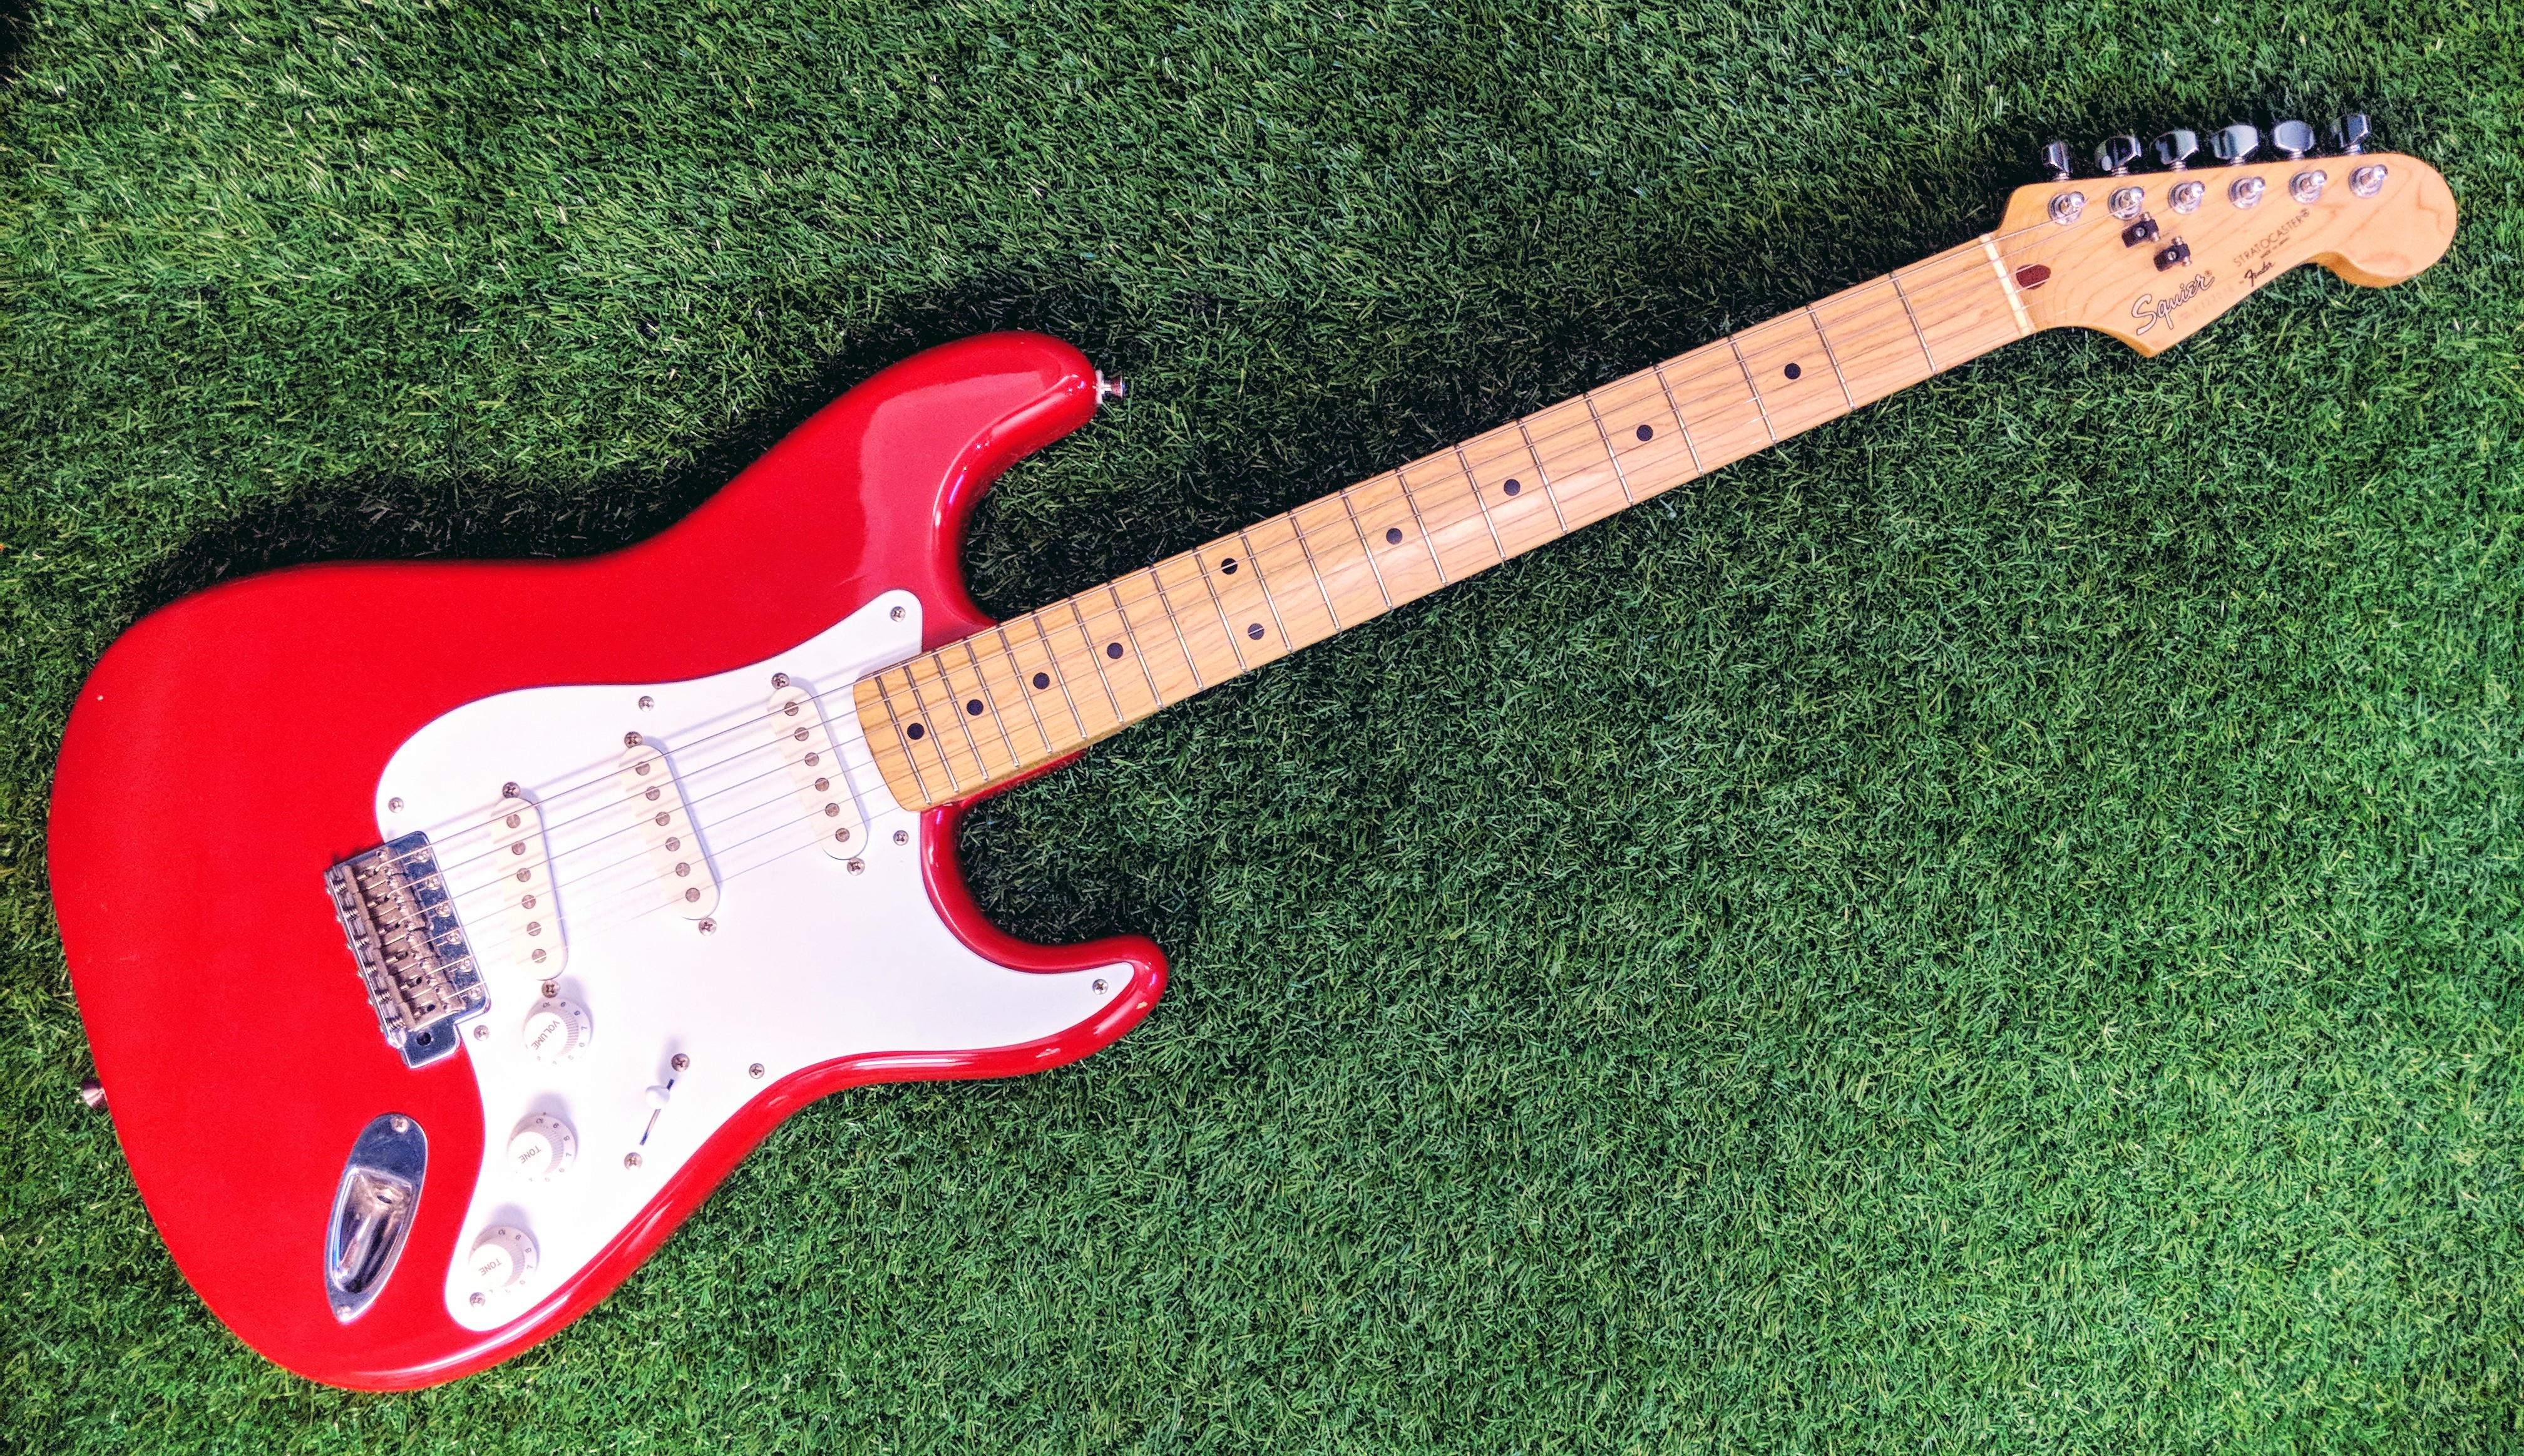
A 1987 Japanese-made Squier Stratocaster